


I’ll be sharing the exact products I use in the treatment room, which I retail at my studio, listed as Pro. I’ll also be sharing options you can buy on Amazon or might already have at home, if you're not one of my clients, listed as Home.
Step 1: Therapeutic Triple Cleanse
Often over looked and rushed through, the cleanse is the foundation of your entire facial routine, whether in the treatment room or at home. Done properly, the skin is able to absorb product more readily, breakouts will be reduced, inflammation will be minimized, and over time cells will increase regeneration. Cleansing might seem like one step, but I’ve broken it down into three: one for the eyes and lips, one to clean the surface of the skin and one to dive a little deeper.
Eye & Lip Cleanse
During a facial, this step is often used to remove makeup that can be a little trickier to get off. But I do this on every client, whether there’s make up or not. At home, this is a nice way to treat two areas of the face that can get overlooked during a regular cleanse, eyes and lips.
Use a damp cotton round or 2x2 wipe. Add a dime size of a creamy cleanser or micellar water, and cleanse lips, eyelids and lashes. If you have lash extensions, skip products with oil in them when cleansing the eye area as oil will break down the lash adhesive. However, don’t skip cleansing them all together! Lashes get buildup just like everything else.
 |

|

|

|
Pro: Luzern L’Essentials Micellar Cleansing Water
Home: INIKA Organic Phyto-Active Micellar Rosewater, Derma E Vitamin C Micellar Cleansing Water
Pro Tip: Use a lip scrub! Exfoliating your lips a few times a week will help keep this delicate skin healthy and able to retain more moisture. Try this Organic Vanilla Lip Scrub.
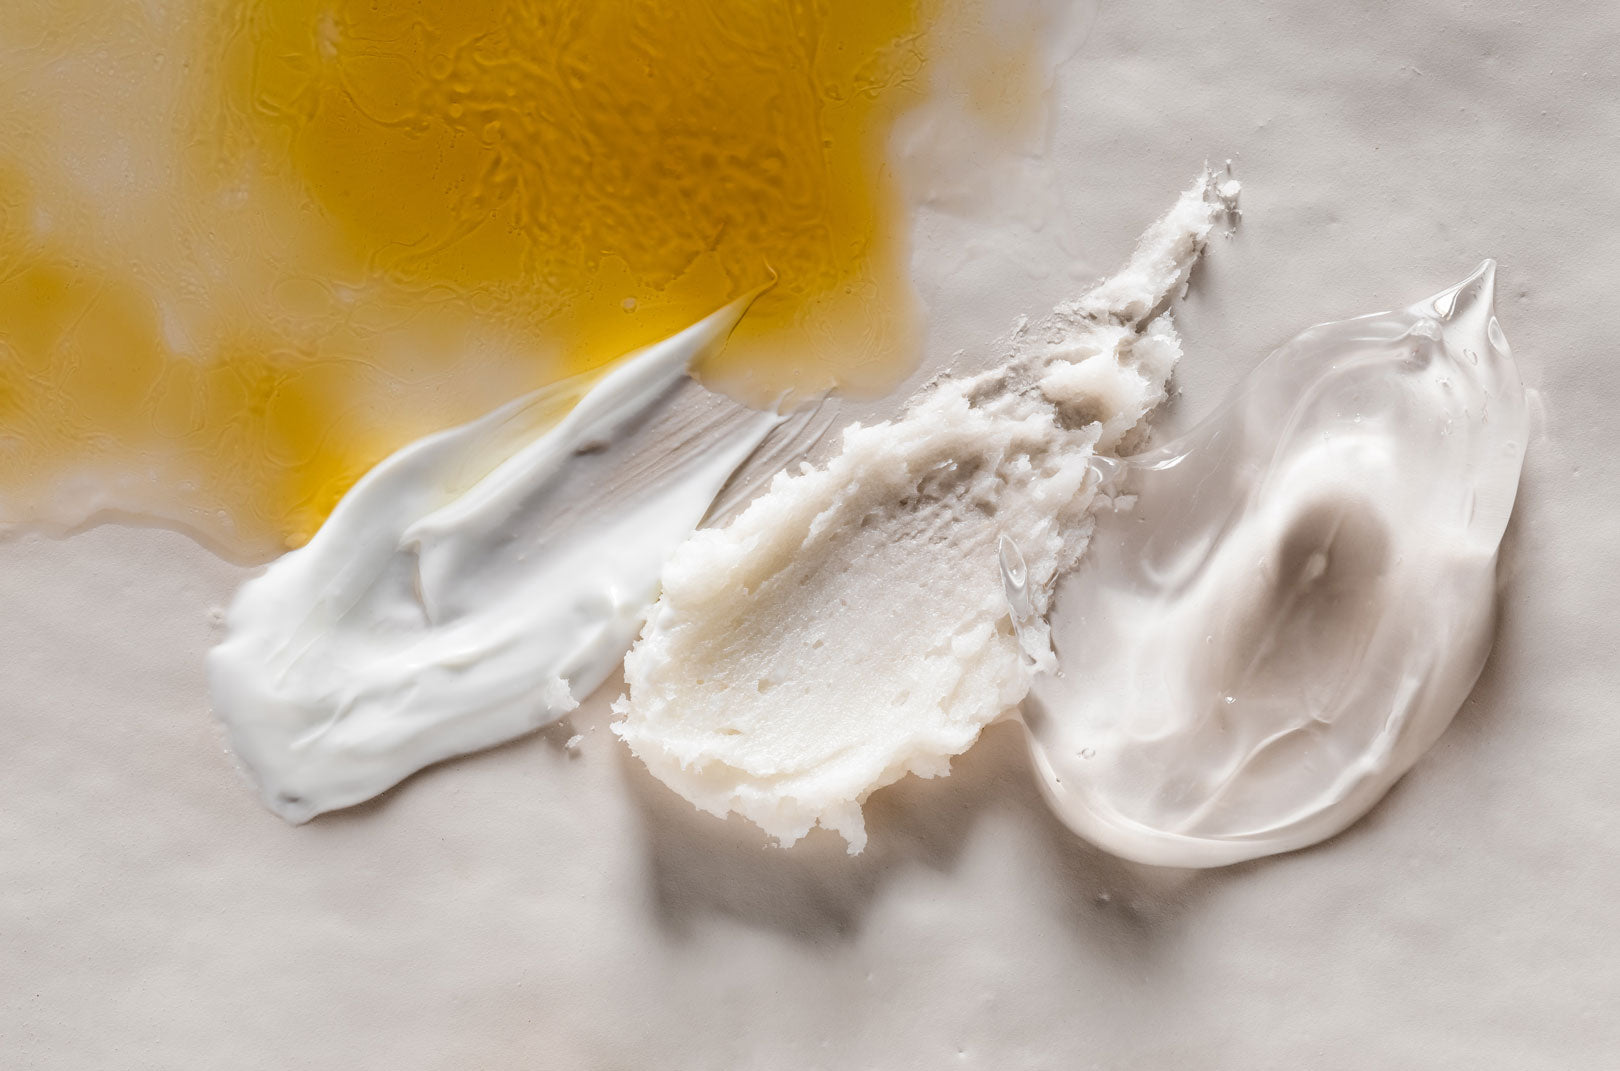
Oil Based Cleanse
Often referred to as a double cleanse, your evening cleanse should consist of two cleansers - one oil based and one water based.
Your first cleanse should be performed with a cleanser that has some sort of oil in it, whether its a creamy milky consistency or a true Oil Cleanser. Oil based cleansers work to remove all the gunk on the surface of your skin: dirt, debris, dead skin cells, sunscreen, makeup and micro-particles of pollution that (when left to their own devices) can lead to inflammation and premature aging.
 |

|

|

|

|
Pro: Luzern L’Essentials Cleansing Creme, Luzern Nuit Cleansing Emulsion
Home: Juice Beauty Cleansing Milk, Juice Beauty Stem Cellular Cleansing Oil, Carter and Jane The Everything Oil Cleanser
Pro Tip One: Give yourself a little massage. In all of my facials, I do facial massage during the cleanse. Facial massage stimulates circulation which means your skin gets a dose of oxygen and nutrients. It also stimulates drainage, allowing toxins and stagnation to leave the face. Spend as much time removing your makeup as you did putting it on. By slowing down your cleanse and stimulating the tissue through massage, not only do you make your cleanse more enjoyable, you make it more beneficial for your skin.
Pro Tip Two: Use a wash cloth! I love removing this first oil based cleanser with a warm wash cloth. It’s reminiscent of the hot steam towels used during facials and the damp heat melts away tension in addition to surface gunk.
Water Based Cleanse
Once all the build up on the surface is removed, your second cleanser is able to effectively cleanse your face. I love using a hydrating water based cleanser that does not contain Sodium Lauryl Sulfate. SLS is a harsh surfactant, responsible for the sudsy lather a lot of you love, that strips your skin of all oil (a little oil is necessary!) disrupting your skins barrier function causing inflammation, dryness and even skin disorders like dermatitis and eczema.
 |

|

|
Pro: Luzern Labs L’Essentials Cleansing Gelee
Home: Osea Malibu Ocean Cleanser, Juice Beauty Green Apple Brightening Gel Cleanser
Pro Tip: Use a cleansing device! If you’ve been subscribed for a while, you’ll know I am a huge fan of the QykSonic Zoe Cleansing devices. These ultrasonic anti-microbial silicone gadgets exponentially increase the effectiveness of your cleanse. I highly suggest looking into one of these devices if you are prone to breakouts and congestion or just looking to cleanse better.
QykSonic Zoe Bliss - Use code Organic.Esthetician for 10% off
Learn more about cleansing devices
Tone
Meet the step most people skip entirely, toning (this could also be called an Essence depending on the product). It might seem like you're purely misting your face or splashing some liquid onto your skin, but this tiny step will take your skincare routine to a whole new level!
Every time you cleanse, even if you’re using a pH balanced cleanser, the simple act of removing your cleanser with water, disrupts your skin’s pH. The “harder the water” the higher the pH, further throwing off your skin’s delicate equilibrium. I live in LA where there’s actually arsenic in our tap water. Crazy things like arsenic and less crazy things like fluoride, all part of what goes into your drinking water, affect your skin’s pH.
For products to penetrate properly, pH is incredibly important. For your skin’s barrier to function properly, pH is important.
In addition to pH balancing, your toner will also add hydration. The more hydrated your skin is the better it will function but also the better it will absorb products. Have you ever wiped up a spill with a dry sponge? It’s not very absorbent. A damp sponge, on the other hand, is much more efficient at wiping up that spill on your counter. Your skin works in a similar way. By first applying a toner, all of your expensive serums and moisturizers penetrate more readily. This makes them more effective and less irritating, especially when it comers to applying active serums.
Ever put on a retinol or vitamin C serum and felt your skin get a little irritated? These actives are meant to dive deep into the skin where they can stimulate all those amazing anti-aging components of cellular functions, things like cellular regeneration and collagen synthesis. When the upper layers of the skin are dry and dehydrated, these actives get stuck and aren’t able to get where they need to go, causing irritation. Thus another reason why using a toner is incredibly beneficial.
Lastly, the more hydrated your skin is from your toner application the better spreadability you’ll have. Which means, you’ll be able to use less product!
Okay, have I sold you on toner yet?!
 |

|

|
Pro: Luzern L’Essentials Hydrating Essence
Home: Sircuit Skin Molecular Mist, Respekt Anytime Face Mist
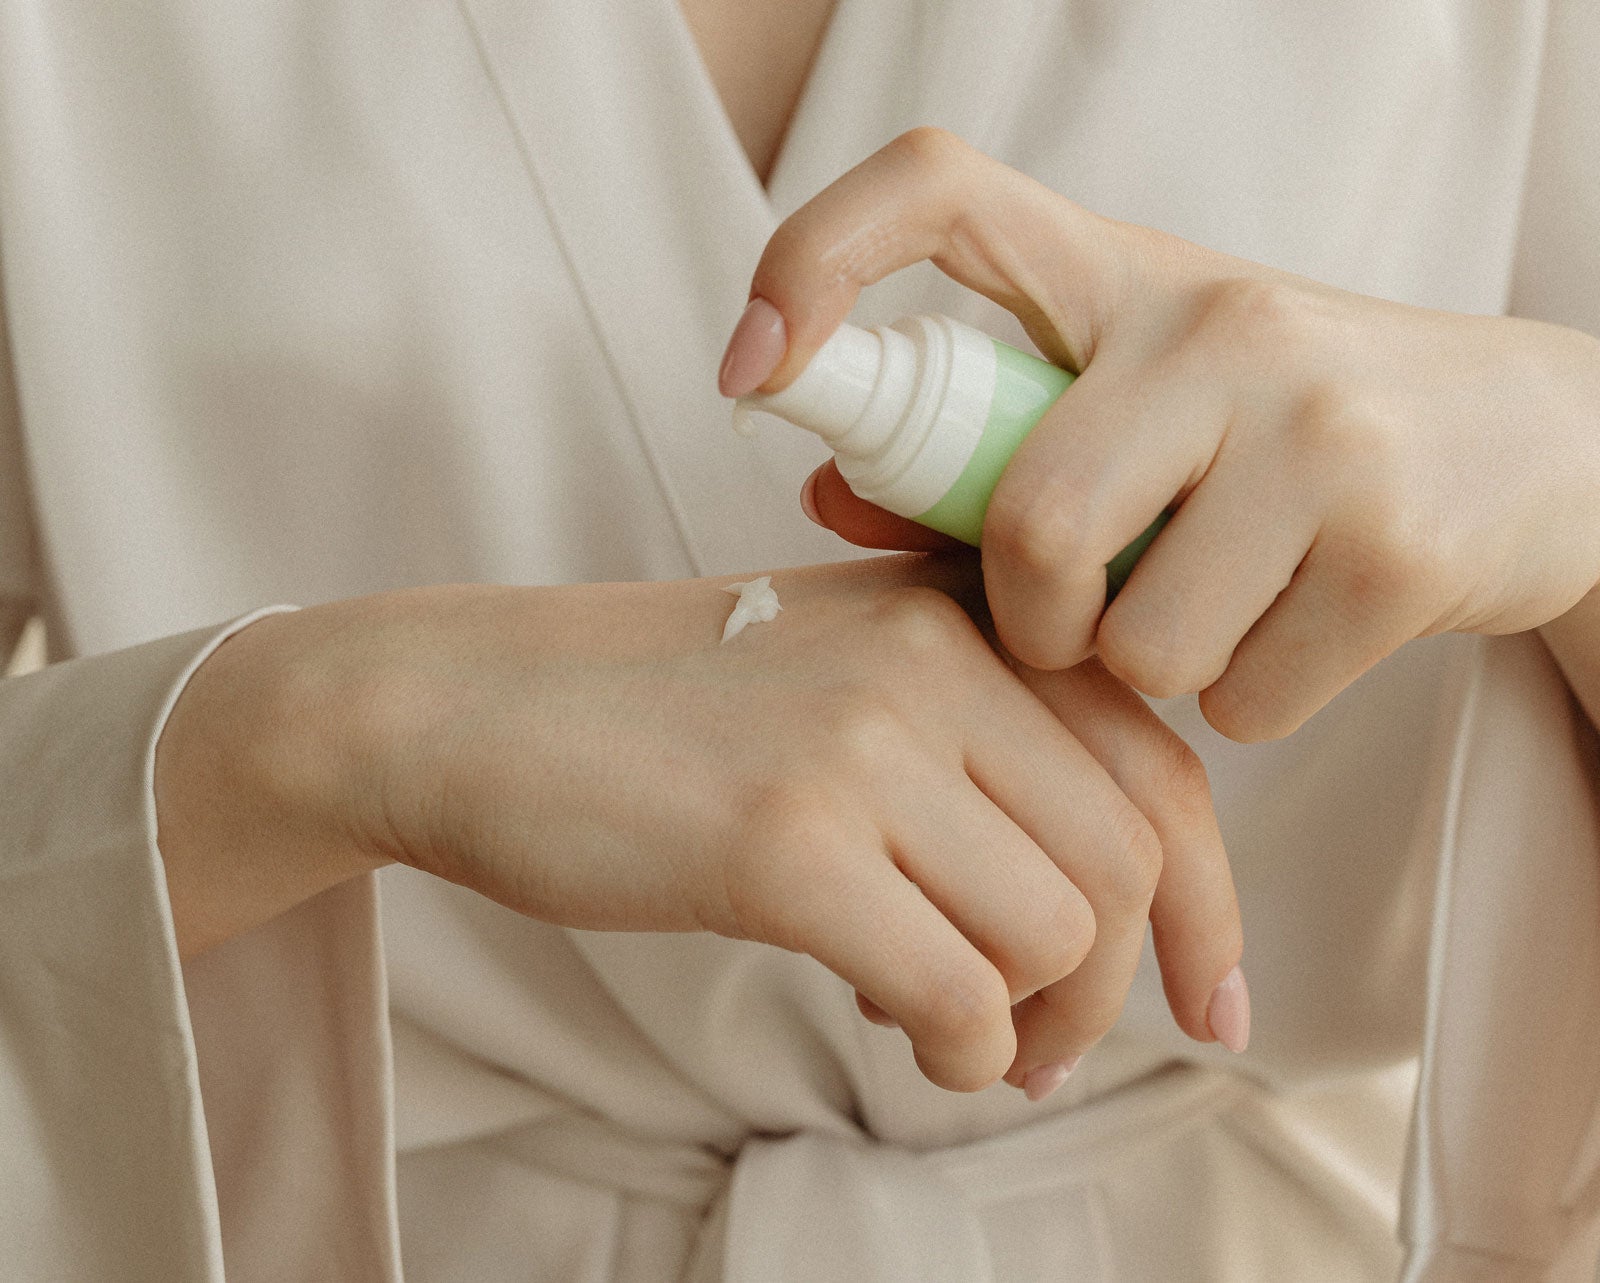
Pro Tip One: Application is key. For hydrating toners, my personal favorite for all skin types, try pressing this product into your skin. Pour or mist your product into your hand, distribute it between both hands, then gently press your hands to your face. Slowly work the toner over your whole face by gently pressing. For balancing or exfoliating toners, apply product to a cotton round or 2x2 cloth and wipe all over your face, gently removing impurities on the surface.
To recap, press in hydration and wipe off dead skin. If you’re using a mist, press in first then finish your skincare or makeup application with additional sprays.
Pro Tip Two: Feeling extra dry or dehydrated? Try the 7 Layer Korean Method! Simply press in one layer at a time of your favorite toner, repeating up to seven times. After the third application, you’ll be amazed at the change in your skin!
Now that you know how to cleanse like a pro, learn how to exfoliate like one too.
Disclosure: This post contains some affiliate links, meaning, at no additional cost to you, I will earn a commission if you click through and make a purchase.