Argan Republic is now called Wilder North.
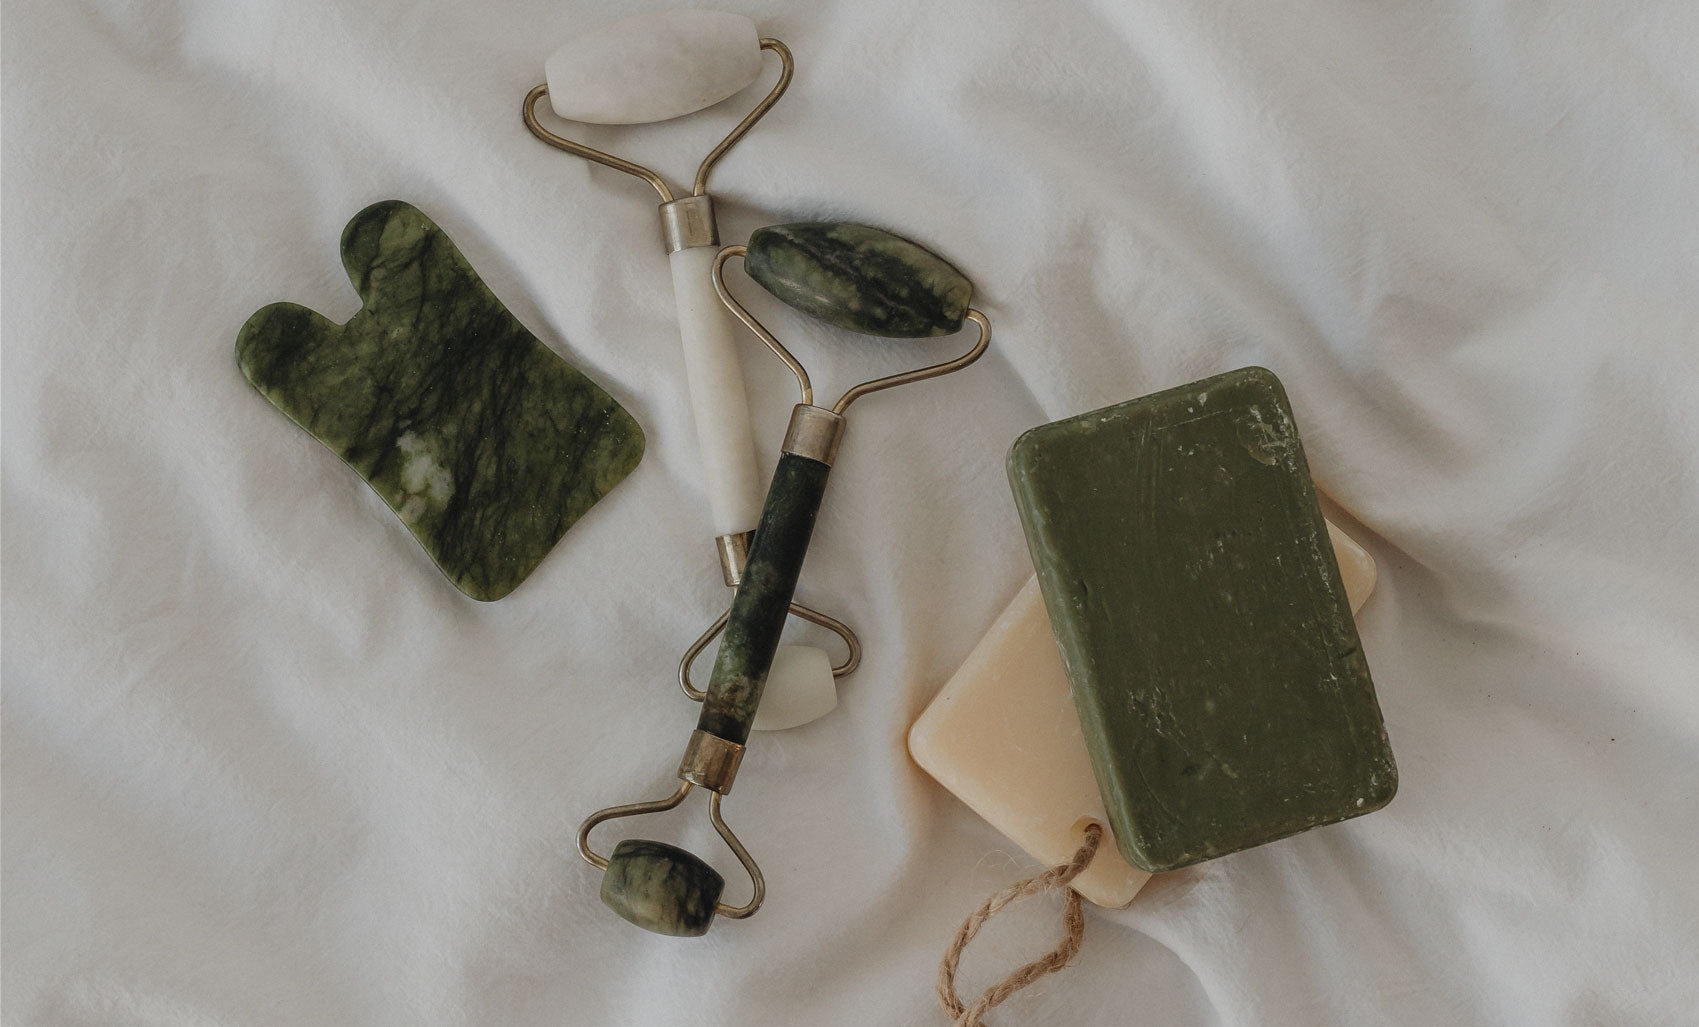
If you follow skincare, wellness and beauty accounts on social media you’re sure to have been bombarded by gorgeous images of Gemstone facial tools. From Gua Sha stones to facial rollers, these beauty tools are everywhere right now and for good reason. They are an effective and simple way to increase the benefits of your skincare routine.
I was lucky enough to be contacted by the owner of Wilder North, an artisanal skincare company that makes small batches of handmade products using all organic and wildcrafted ingredients, and asked to make a video demonstrating how to use their rose quartz and jade facial rollers. They also sent me a few of their products to try and I've been really pleased with the results. I'll talk about them each later.
Before we jump in to how to use these tools, I thought we could cover their history and some fun facts first.
The Jade facial roller has been in use since the 7TH century, where it originated in Chinese skincare routines. Traditionally, practitioners revered Jade for it's healing abilities to warm the skin. These practitioners were on to something! Scientific research has given us insight into how this is possible. Jade is a natural transmitter of Far Infrared rays. These rays transmit low levels of heat which allows Jade to warm up the skin and boost microcirculation.
Rose Quartz, on the other hand, is a little less scientific. It's said to help unclog the Heart Chakra, letting go of stress and negativity that can cause tension in the muscle, resulting in fine lines and wrinkles. It is used to influence a softer, more radiant completion and reduce the appearance of wrinkles. I personally just love all things rose quartz for their beauty. The Rose Quartz Roller I used in my video also offers a really nice weight, making the tool feel substantial and allowing it to easily manipulate the tissue.
How To
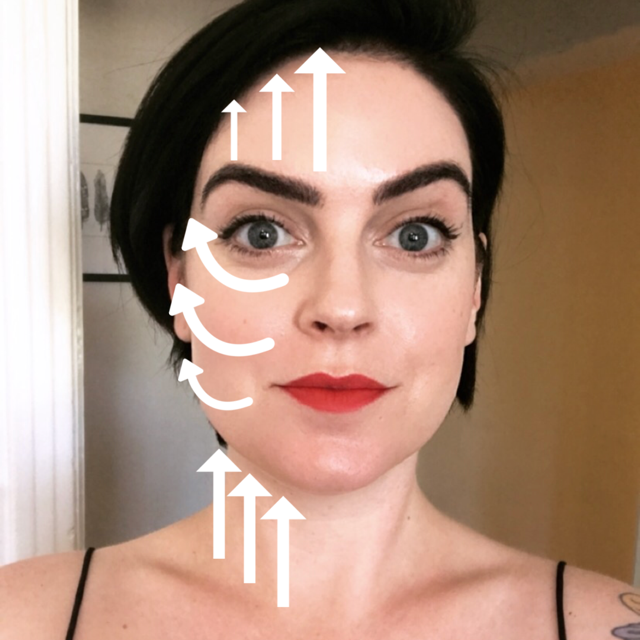
There are two different ways to use the roller. One is in a gentle downward movement. This is detoxifying and stimulates lymphatic drainage. The second, is in a more vigorous and rejuvenating upward movement. This stimulates circulation and oxygenates the skin. I tried my hardest to verbalize these directions. If they're confusing, watch my video for a clearer explanation.

Benefits of Detoxifying Facial Rolling:
-
Calms inflammation
-
Reduces puffiness in the face, especially the under eye area
-
Stimulates detoxification
-
Stimulates lymphatic drainage
-
Promotes product penetration
Detoxifying Facial Rolling How To:
-
Start at the base of your neck. Gently roll in a downward motion from ear to clavicle. Repeat 3x then move to the next section, working across your neck from the ear to the center line.
-
Move to the center of your chin. Roll out from the center towards the hair line. At the end of your third pass toward the hairline, drain the lymph by rolling down the side of the face toward the clavicle once. Continue this pattern, rolling horizontally across the face 3x then draining once down perpendicular to your previous movement, as you work your way up the face.
-
At the under eye, use the small end of the roller. Roll 3x from the nose toward the end of the brow. On the last roll, finish by drawing down the side of the face to the clavicle. Repeat these movements just under the eyebrow.
-
Lastly, gently roll from the center of the forehead toward the side of the face 3x, draining down to the clavicle on the last pass. Repeat this moving up the forehead.
-
To finish, repeat your last draining movement 2-3x more.
-
Repeat on other side.
You'll notice a constant need to swallow. This is very normal during lymphatic drainage and a good indicator you're doing it correctly.
Benefits of Rejuvenating Facial Rolling:
-
Boosts circulation and oxygenates the skin
-
Brightens the complexion
-
Tightens pores
-
Reduces wrinkles
-
Plumps up the skin
-
Promotes Product penetration
Rejuvenating Facial Rolling How To:
-
Start at the neck. Roll from base of neck to jaw line in an upward roll. Your pressure should be medium to firm. When you get to the jaw, give a little flick. Repeat this 5-10x as needed, then move to the next section. Repeat till you've reached the center of your neck.
-
Next, roll from the chin to your ear just under your jaw line, chiseling definition at the jaw. Repeat 5-10x.
-
Move up to the center of your chin, rolling from chin to ear in a slightly upward angle. Repeat 5-10x. Repeat these movements working up the face, finishing under the eye.
-
Now, move to the forehead. Roll from your brow toward your hairline in a vertical upward movement. Repeat 5-10x. Repeat these movements working across the forehead.
-
Repeat on other side.
Erasing Wrinkles
During the Rejuvenating Facial Rolling sequence, you can use the smaller roller to fine tune any areas you'd like to focus on, such as around the eye (crows feet), between the brow (11 lines), the forehead, and above and below the lips. Hold the skin taught with the opposite hand and use the roller as an eraser, rolling back and forth across the line (perpendicular +). This stimulates blood flow to the area, plumping the skin and diminishing wrinkle depth.
Pro TipS
-
These stones tend to stay cool on the skin even after vigorous use. However to intensify this sensation, pop your roller in the freezer for 20 mins before using it. The cool stone will help to calm the skin during your lymphatic drainage and will feel especially lovely on puffy eyes.
-
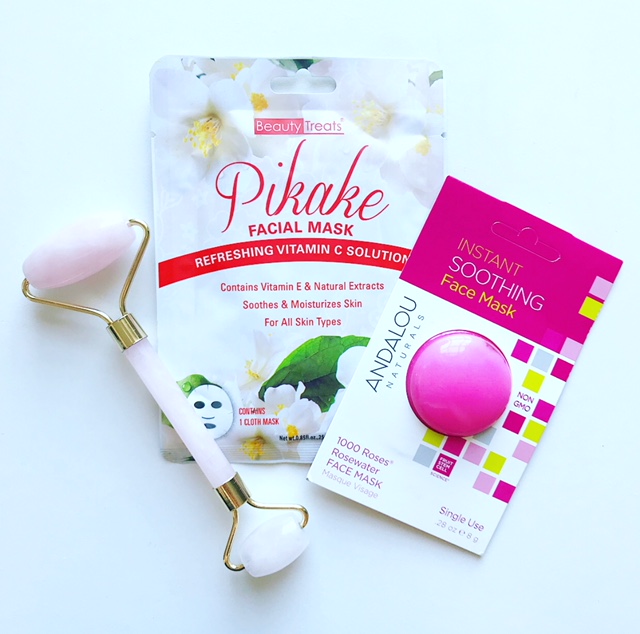
Use your gemstone roller over a sheet mask or hydrating face mask to intensify your treatment and promote deep hydration.
Shopping
 |
Dual Rose Quartz Facial Roller Rose quartz is packed full of minerals, including silicium, magnesium, iron, sodium and oxygen. It has an amazing ability to reduce inflammation and support the renewal of skin cells plus heals and rejuvenates. Rose quartz facial rollers are also good for the heart and circulation, bringing oxygen to skin which improves tone, luster and glow. Made of pure rose quartz Each roller is unique and colors/grains vary. Frame made of Brass These are made so that you can remove the stones for cleaning if necessary. Listing is for 1 Dual-head Rose Quartz Roller ($49) |
 |
Jade Eye Mask This intricately woven mask made with 100% grade A Xuiyan jade which is a healing semi-precious stone which compliments the natural skin care regimen. Known for its calming and healing properties, jade helps emit healing energy into the liver, gallbladder and kidneys. Healing the stressed organs slows the process of cell aging and helps detoxify the lymphatic system. The coolness and weight of the jade helps relieve sinus issues, closes pores and reduces puffiness and wrinkles. Jade remains cold while in contact with the skin and this helps to close the pores and tighten the skin. Also a good use for meditation, the jade helps calm the soul and brings about deep relaxation and tranquility. Using one of these regularly will soon leave your face feeling firmer, smoother and looking clearer, while also working wonders for under-eye puffiness and dark circles. ($60) |
 |
Vital Twilight Wilder North’s Vital Twilight Night Elixir - regenerative night elixir combines our fantastically anti-aging Argan oil with all of natures most regenerative oils. This night serum contains exotic prickly pear, which is a potent anti-oxidant that perfectly compliments the rejuvenating effects of rosehip seed oil, sea buckthorn oil and pomegranate oil. For those of you who still get the occasional blemish, prickly pear takes care of that while you sleep. Your skin does all it's vital repairing and regenerating at night, make sure you use this combo of vital anti-aging oils to wake up with youthful, glowing, renewed skin! ($73) |
I've been using the Vital Twilight as part of my evening routine paired with the Rose Quartz roller. I've been loving the glow it gives my skin in addition to the added moisture. It's blend of antioxidant rich oils are loaded with vitamin A, C and E. Making it both calming and anti-aging. It's truly a relaxing way to end the day and I wake up with beautifully plump skin.
I had a loose plan for my blog and channel when I started them, mostly just to share my skincare knowledge with all of you. But I’m quickly becoming the “skincare tool lady.” Sorry if this feels like an overload of gadgets coming at you each week. But for anyone who can’t use the electrical devices (whether your pregnant, epileptic, have a pacemaker or are just a little more sensitive than most) you’re going to love this weeks tool. Plus, it’s great for those on a budget as well!
Disclaimer: This is a sponsored post. I was given products in exchange for making a tutorial. I am currently using these products and am loving the results. This post does contain some affiliate links, meaning, at no additional cost to you, I will earn a commission if you click through and make a purchase.
