


Hi Everyone!
Now that you're all familiar with my three favorite facial devices, the Qyk Sonic Zoe, the NuFace Trinity and the Kinga Ultrasonic Spatula, I thought it would be fun to show you how to use them in conjunction with each other.
This anti-aging routine is something I do most mornings, three devices that allow for up to seven different treatments. My daily routine utilizes five of those modalities.
Now I'll be honest, I live a pretty charmed life. While I do have daily chronic pain and am never quite sure if I'll actually be able to make rent, I only work part time (even if weekly writing and filming make it seem like a full time job) and I don't have children or even fur babies to look after, allowing me time for a pretty extensive morning routine.
I realize this won't be a daily habit for most of you but you'd see some great results if you managed it once a week or before any special occasion. In addition to my full routine, I'll make an abbreviated option that will work for busier lifestyles and there's lots of tips in between for you to find the parts that work best for you.
I was recently asked about my best skincare advice. My reply is this...
The more you put in, the more you'll get out.
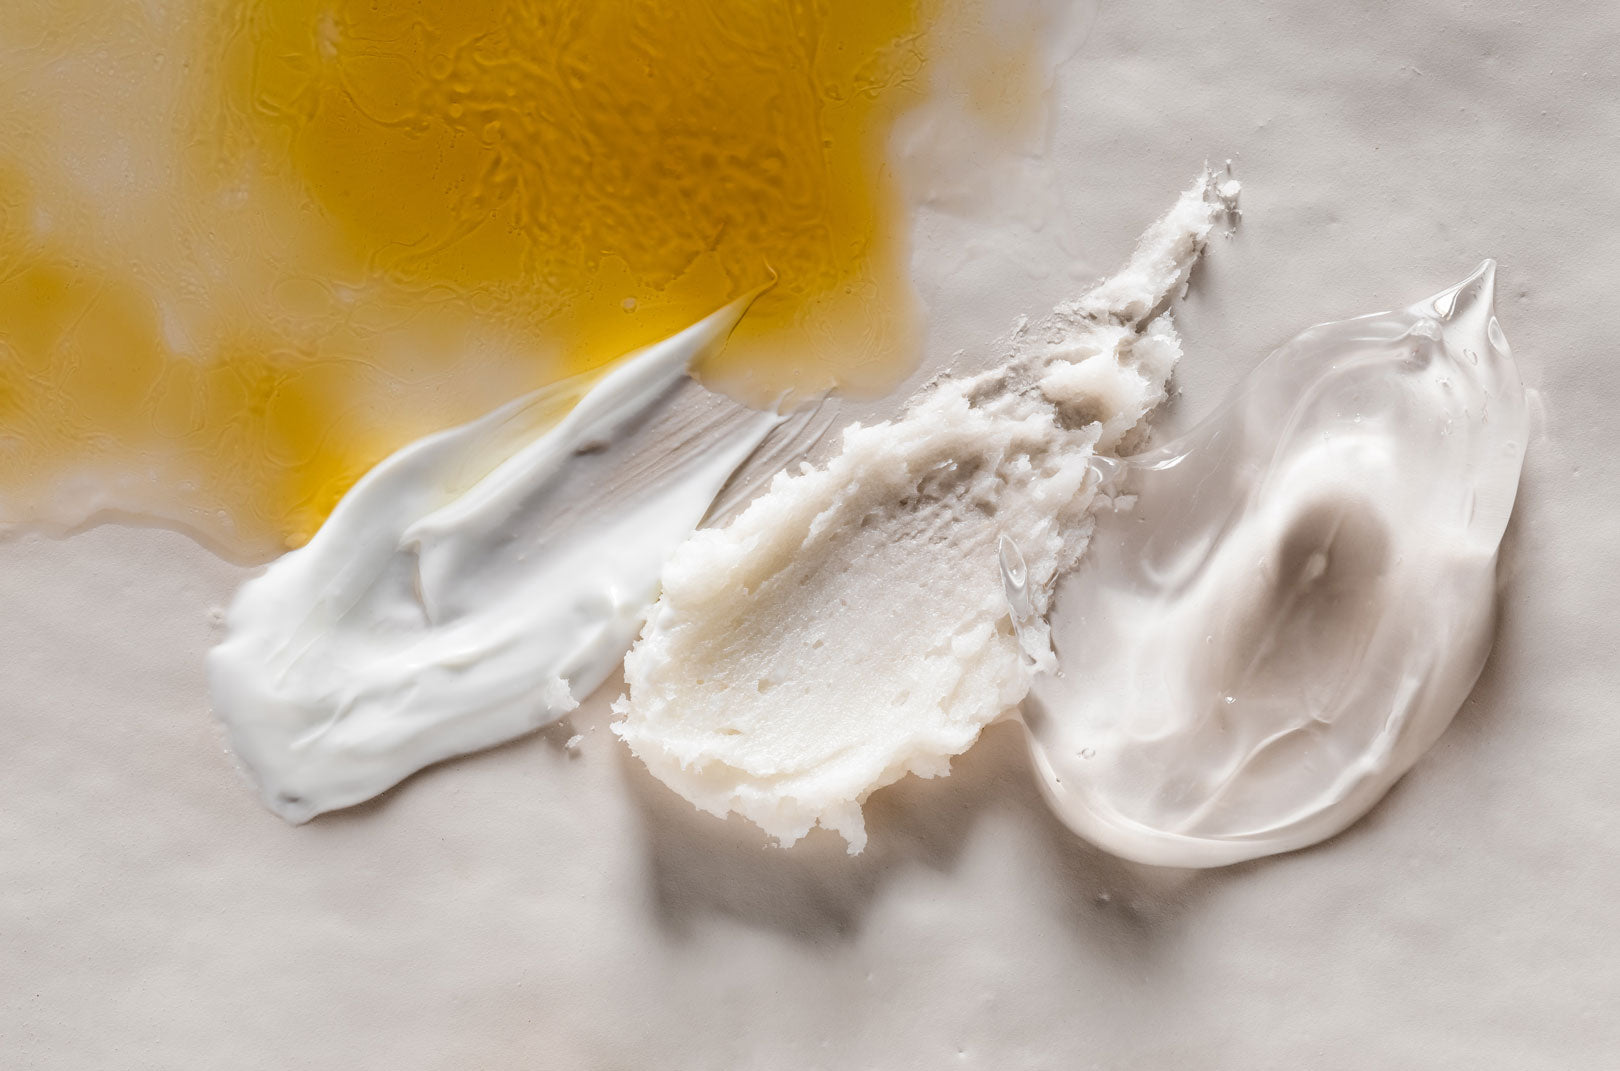
The more time you spend on your skin, the better quality of products that you use, removing harmful chemicals and replacing them with organic ingredients, adding modalities to your routine, and adding active anti-aging ingredients, the better your skin will look and the more desired results you'll achieve. So, as the fabulous Tim Gunn would say, "Make it work, ladies!"

My Anti-Aging Skincare Routine:
-
Cleanse with the Qyk Sonic Zoe
-
Micro current Lift with the Nuface Trinity
-
LED Red Light Therapy with NuFace Trinity
-
Product Penetration with the Kinga Ultrasonic Spatula
-
Ultrasonic Lift with Kinga PAD Mode
Step 1

Cleansing with Zoe
The foundation to every great skincare routine is clean skin. The most effective way to cleanse your skin is with the help of a cleansing device. For more on this make sure you've read this post. The cleanest, most efficient and easiest to use, also happens to be my favorite. The Qyk Sonic Zoe! It's a 3-in-1 device made from anti-microbial silicone. It has 15 different speeds making it easy to cutsomize to any skin type. The reverse side has touch points that mimic a micro needling treatment, pushing product deep into the skin. It even massages.
If you don't already own one of these, use my DISCOUNT CODE.
ORGANIC.ESTHETICIAN for 25% OFF and FREE US Shipping
I like to use mine with Osea Malibu's Ocean Cleanser. It's a hydrating like a milk cleanser, but unlike a milk cleanser, it doesn't leave any residue on the skin, making it a great prep before doing micro current.
Pro Tip: On days when you're not doing micro current, use your Zoe over an oil cleanser. Zoe massages the oil deep into the skin leaving it SO soft and hydrated! I love using it with Kari Gran's Organic Cleansing Oil.
Step 2

MICRO CURRENT Lift with the Nuface trinity
This step packs the biggest punch! Think of it as a workout for your face. Micro current instantly lifts the facial muscle, strengthening and toning it, in addition to producing ATP. ATP is your body's cellular food. On your own, your body only produces a certain amount of this cellular energy. By adding to your stores, you're enabling optimum cellular function for way longer than you could have otherwise. There are a few at-home micro current devices on the market but only one offers interchangeable attachments for multiple modalities. Which is why the NuFace Trinity is my favorite.
Now that your skin is cleansed and free of oil, you can perform your micro current routine. Because every other modality we'll be using is paired with oils and serums, I find starting with micro current easiest. This way you don't have to apply product only to remove it later.
Apply your conductivity gel. I recommend using either Organic Aloe or Colloidal Silver for chemical free conductivity. Then follow my video tutorials to achieve a sculpted face! Click on the pictures below for my neck, eye and lip or full face routine.
Rinse off any excess gel when you're done.
Pro Tip: Not everyone has time to do a full NuFace routine every morning. If this is you, pick one area to target. This can cut your routine down by up to 14 minutes! I tend to focus on my cheeks for a more sculpted appearance. Most of my cheek moves are glides that end at my temple which in turn helps to lift the end of my brow. Two-in-one!!
Step 3

LED Light Therapy with the NuFace Trinity
Red LED Light Therapy helps to plump up fine lines and wrinkles by stimulating collagen and elastin production, in addition to improving the over all tone and texture of your skin and minimizing inflammation. This is our long game modality. It takes up to sixty days to start seeing it's results. Although, I notice a reduction in inflammation right away.
Now, feel free to tone your skin with a hydrating toner. Just make sure it's not exfoliating or brightening which might cause your skin to pigment with the light.
To prep your skin for LED Light Therapy, apply an antioxidant serum like Simply Radiant Beauty's Organic Resveratrol Serum with CoQ10. This helps to prevent any negative oxidative effects of light therapy. For more on this and all things LED make sure you read this post or watch this video.
Nufac's LED treatment time is three minutes per treatment area. I tend to focus on four areas: the center of my forehead, the top of each cheekbone and flush on my mouth. But you do you.
Pro Tip: Do you have three minutes? When you're in a hurry, pick one area to concentrate on. I tend to opt for my mouth. This will plump up my lips, address any fine lines there and help to minimize nasolabial depth.
Step 4

Product Penetration with the Kinga Ultrasonic Spatula
The Kinga Ultrasonic Spatula is another favorite multi-tasker. It's ultrasonic vibrations can be used to exfoliate, penetrate product or lift the face. For more on the Kinga read this post or watch this video.
This step could also be done using you Zoe cleansing device. It's reverse side offers harder silicone touch points that mimic a gentle micro needling treatment, pushing product deep into the skin while gently massaging the surface.
I find it easier to use my Kinga for this step since I'm also going to use it in Step 5.
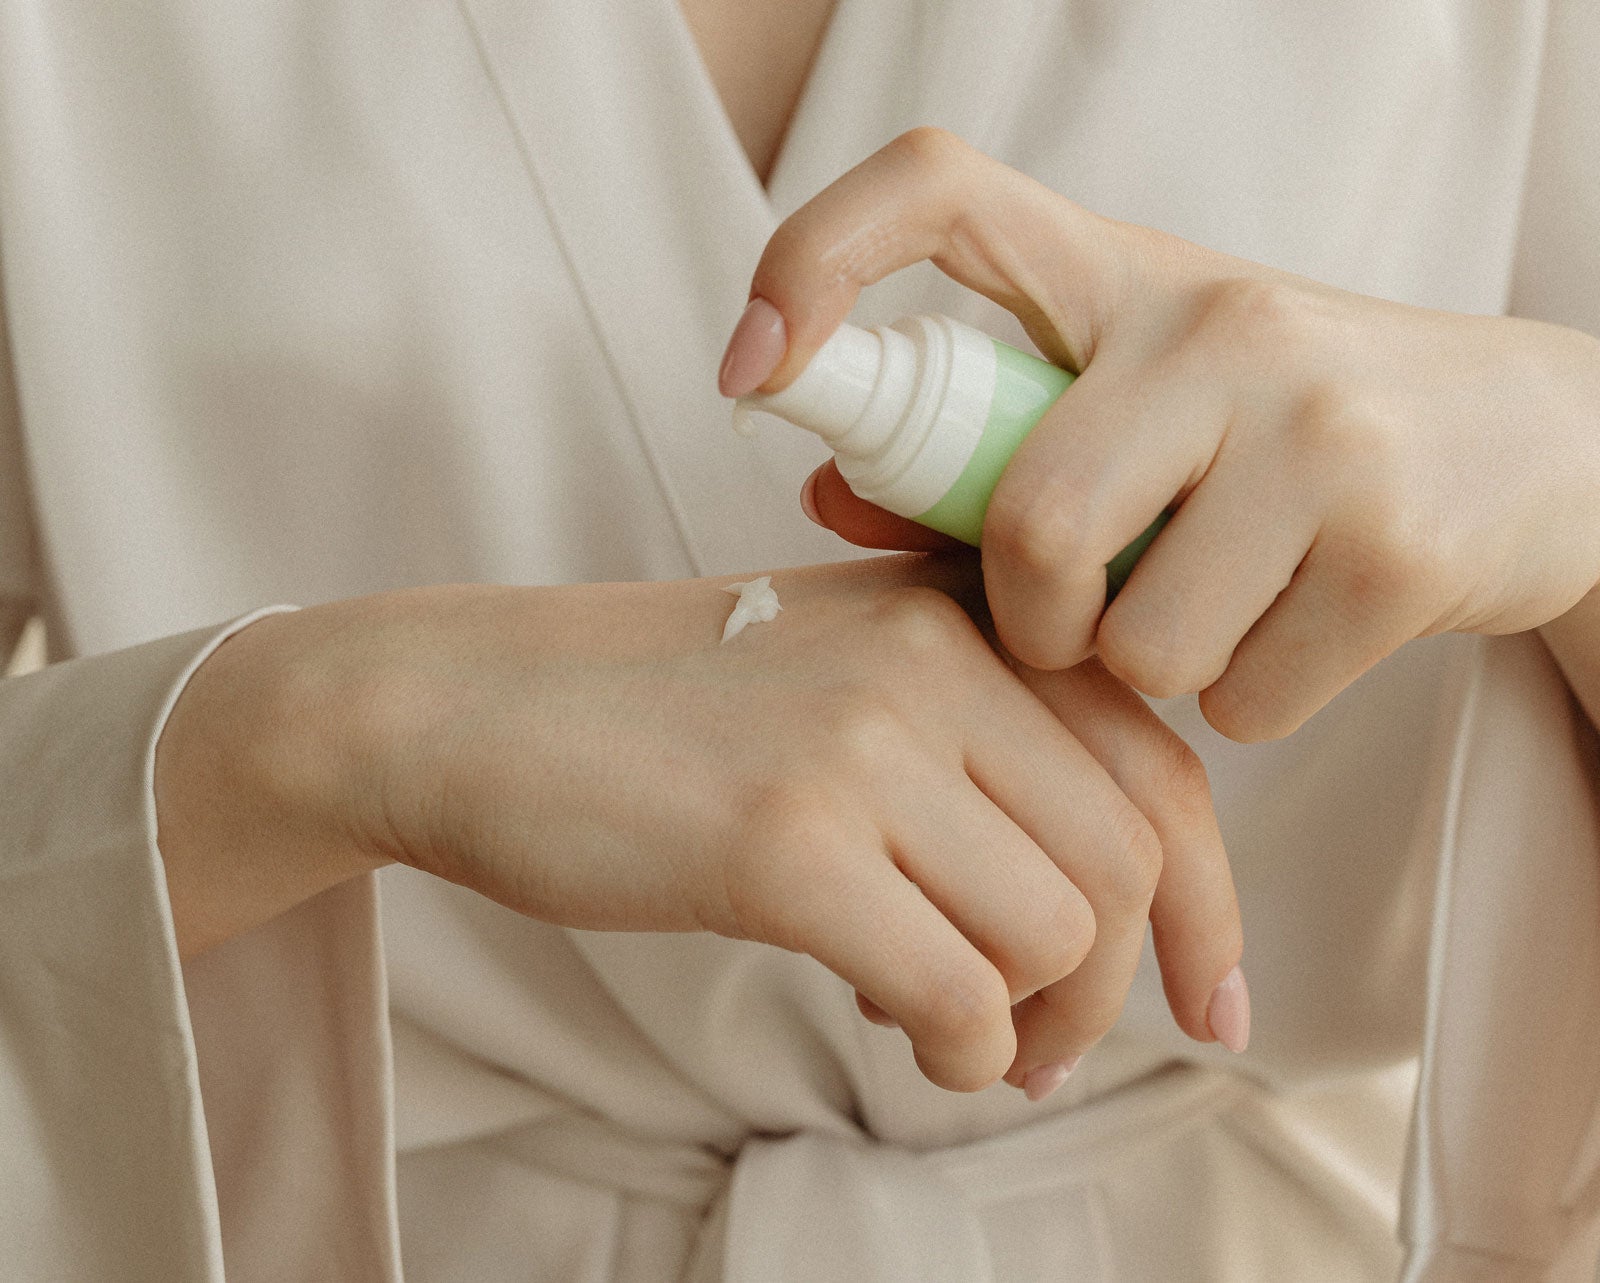
At this point, I tend to layer on my facial oils and eye cream or any serums that might have conflicted with the LED light.
- Turn on device. Press the squiggly button, then the (-) button.
- Glide the device, buttons facing away from you, from the center of your face toward the outside in upward movements.
I do this quickly. I usually do two to three passes per section. This takes less than a minute.
Step 5
 |

|
Ultrasonic Lift with the Kinga Ultrasonic Spatula
This might seem repetitive because we already lifted with the NuFace, but hear me out. Micro current effects the muscle, actively lifting and toning while stimulating that good ol' ATP. Ultrasonic modalities effect the body on a cellular level. The rapid oscillation creates movement against the cells, stimulating fibroblasts that, in turn, stimulate collagen and elastin production. I also feel like I can easily shape my face with the spatula.
Turn on your Kinga Ultrasonic spatula and hit the PAD button.
- Glide the device, buttons facing away from you, from the center of your face toward the outside in upward movements. Repeat as needed.
- At the forehead, work from brow to hairline in slow stokes. Repeat as needed.
- For neck, work from base of neck toward your jawline in upward stokes or from the center toward the sides of your neck in horizontal stokes, just like you'd use your NuFace. Repeat as needed.
Finish with your moisturizer application.

Abbreviated routine - Qyk Sonic + Kinga
For days when you want some extra anti-aging but are short on time.
- Cleanse your skin with your Qyk Sonic Zoe.
- Apply all of your skincare.
- Use the reverse side of your Zoe or the Kinga Ultrasonic Spatula on the Iontophoresis setting for product penetration. See Step 4.
- Then hit the PAD button on your Kinga and work in an upward motion for an ultrasonic lift. See Step 5.
This only takes a few minutes but packs a big punch!
Disclosure: This is not a sponsored post. This post does contain some affiliate links, meaning, at no additional cost to you, I will earn a commission if you click through and make a purchase.